Cryosparc
Example
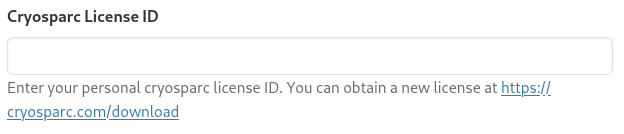
To start CryoSPARC, you need a license ID for every unique instance you run. If you only ever run one session at a time, a single license ID is sufficient. To obtain one, visit cryosparc.com/download.
Go to Open OnDemand and fill in the following fields:
-
License ID — Enter your License ID.
-
Email address — This will be your CryoSPARC login.

-
Password — Set a password for your user account.

-
Slurm resource requirements — Configure the following:
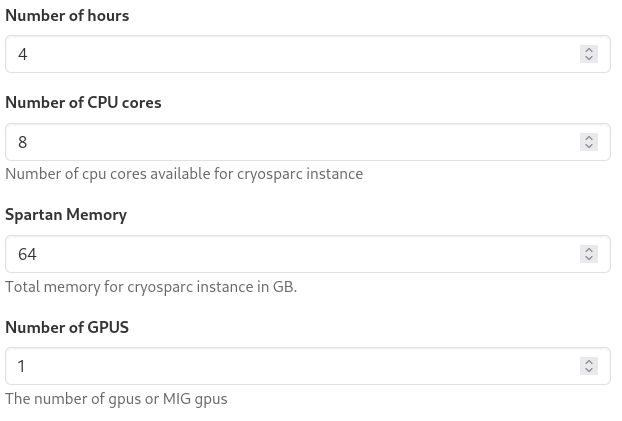
- Hours — Must be long enough for all CryoSPARC jobs to complete.
- CPU cores — 8 is a good starting point.
- RAM (GB) — 64 GB is a good starting point.
- GPUs — 1 is sufficient for most users.
Once configured, press Launch. A CryoSPARC master and worker will start together in the same session on the same node.
Note
You can only run a single CryoSPARC instance at a time, as all instances share the same database in your home directory. If you need to run multiple instances simultaneously, contact HPC Support.
When the Launch CryoSPARC Desktop button appears, click the blue link next to Session ID:

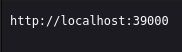
This opens the OnDemand working directory. Click the cryosparc-port.txt file to find the URL you'll use to connect to CryoSPARC from within the job.
Then click My Interactive Sessions → Launch CryoSPARC Desktop. A blank Linux desktop will open.
- Launch Firefox via Applications → Internet → Firefox.
- Navigate to the URL from
cryosparc-port.txt(e.g.http://localhost:39000). - Log in with the email address and password you set above.
Follow the Mounting Mediaflux guide first, then run the following commands to reload the Apptainer image:
module load foss/2022a
module load Apptainer/1.1.8
apptainer instance stop -a
cd $OOD_CRYOSPARC_SESSIONDIR
source after.sh
Open Firefox and browse to the URL from cryosparc-port.txt (e.g. http://localhost:39000)
When finished, stop the Apptainer instance: